Sunday, 5 July 2015

ColourArte DT Submission


Well, here goes nothing! I am nervously entering the DT race for ColourArte - home of gorgeous products like Silks, Twinkling H20s and Radiant Rain. Who wouldn't want to work with those heh? If you are not familiar with their products then they are well worth investigating! You can find a ton of inspiration and information on the ColourArte blog.

I chose to make a mixed media piece for my submission focusing on a few different ways to use Primary Elements Artist Pigment powders - these are SO concentrated and vibrant - I love them. I was obviously feeling romantic when I was creating this as it's very girly for me! However, although there is plenty of sparkle I've tried to keep it elegant - the effect of mica and natural minerals (as in the Primary Elements) is so much more subtle than glitter I think.

So without further ado it's onto my tutorial - there are lots of elements to my piece so hopefully there's a technique or tip here for everyone to enjoy :).

Step-by-step Tutorial:

1 Use your substrate to cut a piece of thick watercolour paper to fit.

2 Using pearlescent embossing paste and a stencil. add some texture to the background. Let dry.

3 Get your Primary Elements jars open and ready. Spritz the paper with water. Use a dry, soft paintbrush to flick some of the Summer Breeze colour into the water.

4 Continue adding the other colours in the Primary Elements Beach Glass set with the dry brush.

5 Spritz again with water. Keep adding small areas of colour and blotting some areas until you are happy with the result.

6 On the finished piece the colours are blended. (NB: Primary Elements are not permanent and can rub off, so at this point treat with a spray acrylic sealant).

7 Once the sealant is dry, add some splatters of white paint using an old toothbrush. Add mica flakes all around the edge for some vintage sparkle.

8 Mix some Moss Green Silks Acrylic Glaze with a little Meridian Blue Primary Elements to create a teal shade. Paint some die cut swirls then emboss using an embossing folder. When dry, highlight with Heavenly White Twinkling H20s.
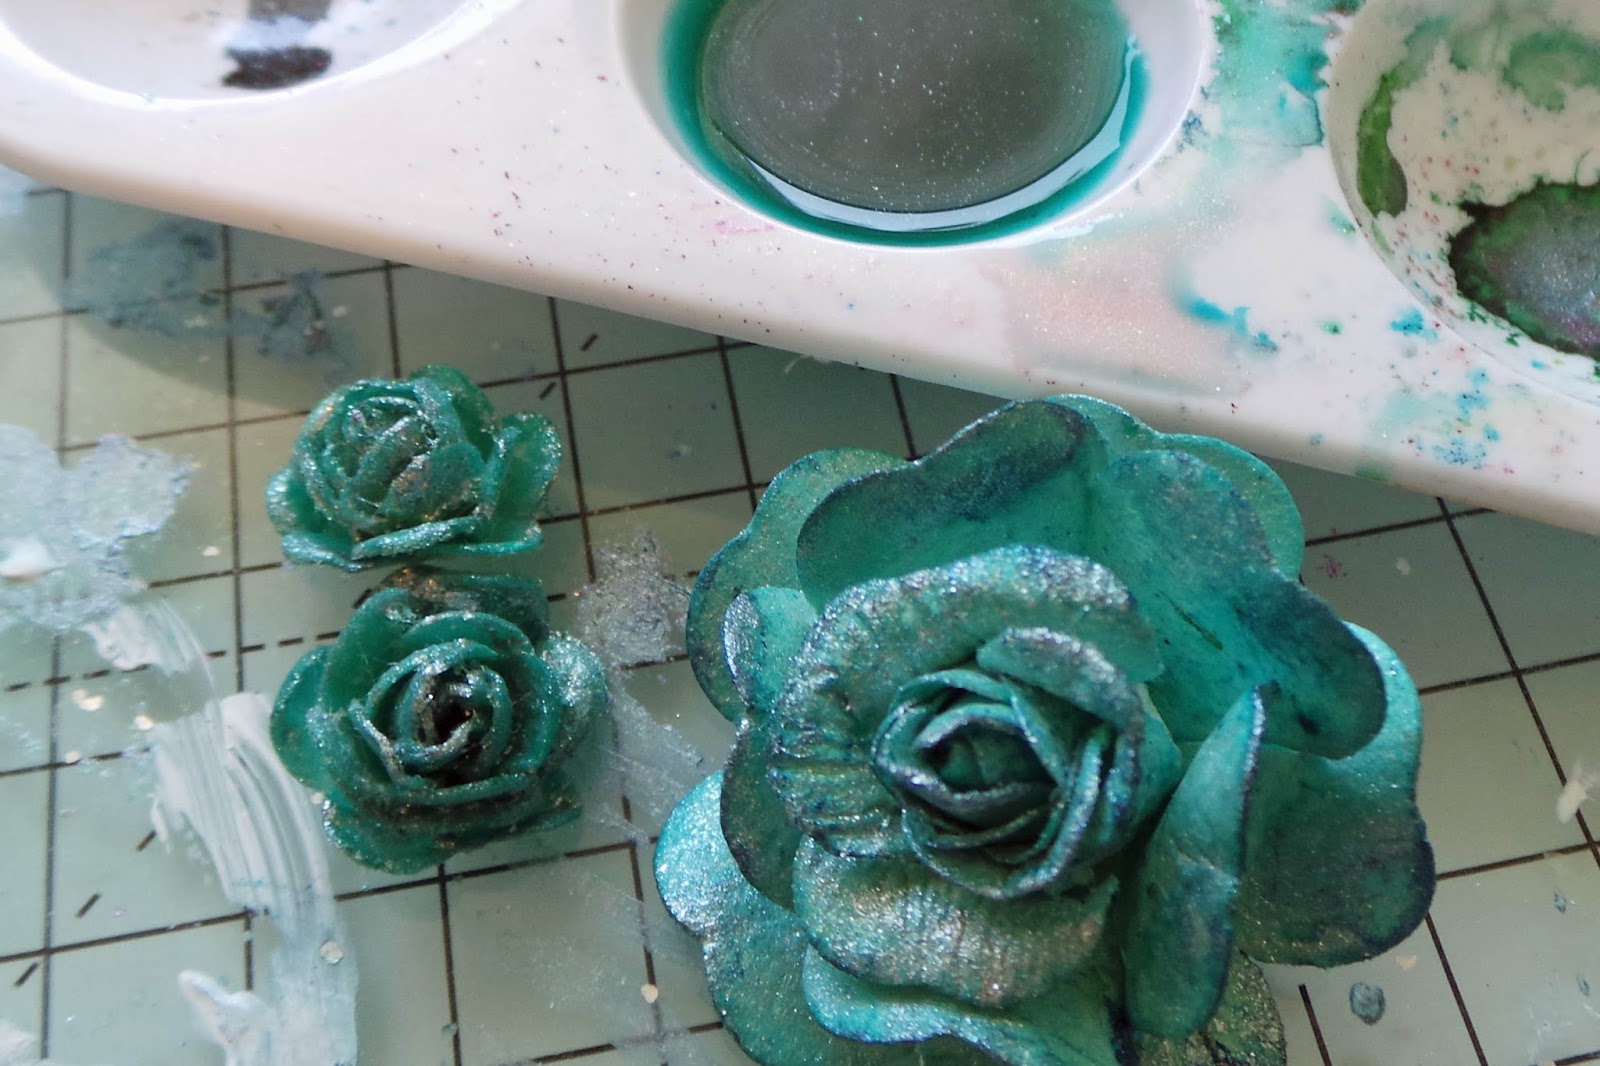
9 Mix Summer Breeze Primary Elements with water and use a large soft brush to colour some plain white flowers (a soft brush helps to push the colour into all the recesses). Add touches of Meridian Blue here and there while still wet. Seal the Primary Elements as before.

10 As in Step 9 paint two wood hearts with water mixed with Hopeful Honeysuckle Primary Elements, seal, and add some stamping with white paint and a background stamp.

11 Mix some Bronze Medallion Twinkling H20s with a little Gel Medium - this will make the H20s stick to a non-porous substrate.

12 Use the H20 mix from Step 11 to add some highlights to the metal elements of the design.

13 Paint a chipboard frame white. My frame has some tiny areas of blue where my brush picked up some stray Primary Elements from the desk (I am SO messy!). I thought it looked cool so I left it like that.

14 Add some white paint to the other metal pieces, working it into the recesses and wiping off the excess paint with a dry cloth.

15 Finally, glue your paper heart to the substrate and arrange the elements on your background until you like the layout. Stick with 3D gel glue like Pinflair or a silicone glue. Other than the items in the steps, I also added sequins, pearls and a tiny vial (Idea-ology) full of mica flakes. Finally, a piece of lace ribbon glued to the reverse forms a hanger.


ColourArte products used:

Primary Elements Set: Beach Glass (containing colours Meridian Blue, Summer Breeze, Hopeful Honeysuckle)


Silks Acrylic Glaze: Moss Green

Thanks so much for visiting me - wish me lots of luck!!!!

Katy xxx

Thursday, 2 July 2015

Mixing It Up


I love collage-style creations and I've used this layering technique a few times on journal pages. Today I decided to go 3D and have a go at the technique with bulkier embellishments on a mini canvas. One thing I love about this technique is you can use up some really old ugly stash and you can't tell - the brads and flower I used were really hideous colours but you'd never know. Frugal makes me feel good :).

I love a good challenge as you know so am entering this for:

- Love to Create: Anything Mixed Media

- Frilly and Funkie: Something to Say (as my focal point is the wording here)

The background is layers of die cuts, ribbon, string and so on, then a layer of metal pieces and finally some more 3D elements. I covered the whole lot with white gesso before spraying with Distress Spray Stains and then (after drying) adding areas of deeper colour with Silks Acrylic Glazes. The stamped quote is from one of Finnabair's stamp sets from Prima.

It's finished off with my usual go-to Treasure Gold (White Fire) - I seem to be slightly obsessed with it....

Not too shabby for a first go and it matches my craft room decor beautifully. It's positioned right in from of my desk so I can always see those brief but inspiring words when I work.

Thanks for popping over peeps!

Katy x

Wednesday, 1 July 2015

July Rubber Dance Challenge


Blimey it's July already - where on earth did half a year go??? On the plus side, another month means another challenge over at the Rubber Dance Blog with a gorgeous bundle of Rubber Dance Stamps up for grabs!!


Our colour scheme this month is soft and vintage and the (optional) theme is Travel & Vacation.

For my contribution this time around, I created a card, taking inspiration from the moodboard. I used lace in my piece which is sprayed with Antique Linen Distress Spray Stain. I used flowers in shades of blue and kraft card which is quite close to the cinnamon colour.

I aged my postcard by scrunching it and dog-earing the corners before adding a little bit of ink, The Rubber Dance stamps are stamped in Sepia and Cornflower Blue Archival Inks. Hope I have captured a vintage feel.

Thanks for popping by :)

Good luck in the challenge.

Katy x

I used these gorgeous Rubber Dance stamps:

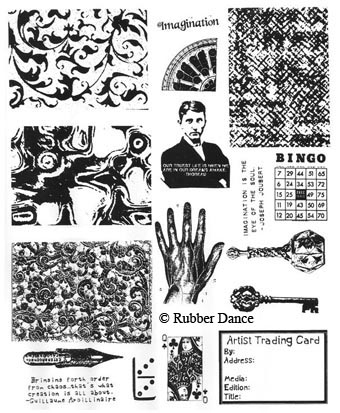
ATC Backgrounds 2

Travel

Vintage Birds

Vintage Postcard

Monday, 29 June 2015

Happy Days for Rubber Dance


Something a bit different for Rubber Dance today - a scrapbook layout. One of their recent releases - Round in Circles (pic below) is totally ideal for scrapping. Here I've used the set on each of my tags to create backgrounds in keeping with the fun feel of my page. I used yellow and pink Archival Inks to complement the papers. The papers are Amy Tangerine - love her papers! This is one of all time fave pictures of me and hubby - it makes me happy :).

Just a little bit of stamping can really elevate a layout - I try to use stamps on most of my pages.

Thanks for your visit today :)

K x

I used these Rubber Dance stamps:

Round In Circles


Thursday, 25 June 2015

Tim's Tag - June


Despite my New Year resolution I've been very lax in doing my Tim's Tag this year, but I managed to have a go at June. Sorry if you are getting deja vu - yes it is yet another sea-themed piece. I'll get bored soon and make something different!


My background is a slight variation on Tim's version. I used the method of printing with the stencil - my first print was quite dry - giving the more defined circles you can see. Then I added a fair bit of water and printed again, first rotating the stencil 90 degrees. I didn't ink my tag first as I wanted a cleaner look. I added a strip of sandpaper and distressed/inked the edges as Tim did. My Distress colours are Salty Ocean and Evergreen Bough,

My seahorses and starfish are stamped onto card that I coloured with Cosmic Shimmer Mists. The heart (Finnabair) is coloured with Abandoned Coral ink and the foliage (Tattered Pinecone die) with Peeled Paint ink, I finished it off with a Tattered Banner die cut and Tim Holtz phrase sticker.

Simple tag but I am really pleased with this one,

K xxx


Tuesday, 23 June 2015

Still wishing for the seaside!


Yes, I am back in my seaside themed comfort zone again - get used to it - I might be there until the end of summer!!! The background is basically a gesso resist with Distress Spray Stains - described in detail below if you want to know more.

Today's creation is going into a few challenges that inspired it (gotta love a challenge when you need some ideas to get you started).

- Art with Heart June Challenge - Summer with Sizzix
(I used three Sizzix dies - Cobblestones, Tattered Pinecone (foliage) and Sand & Sea)

- That Craft Place - Layers 
(Many MANY layers - check out my info below)

And last but not least...

(I used Distress Spray Stains and Cosmic Shimmer Mists, plus a Prima texture stamp (Finnabair), and shell and quote stamps (Rubber Dance New Retro Beach set).

Here's a little more info about how I made it.

The background is layered up as follows:
1 Torn pieces of book page, Sizzix Cobblestones die cuts (torn into pieces) and net ribbon.
2 A loose coat of white gesso - the coverage is incomplete.
3 Distress Spray Stains in Squeezed Lemonade, Wild Honey, Salty Ocean and Evergreen Bough. I added a few layers, drying between. The gesso resists the ink and the book page is more absorbent than the background, so you get paler and darker areas of each colour.
4 Circles created with texture paste through a stencil (Tim Holtz), then painted over with a wash of Distress Paints in Salty Ocean and Evergreen Bough once dry.
5 At this stage I added a touch more spray here and there and stamped speckles around the edge in Potting Shed Archival.
The background is mounted onto torn corrugated card which has been lightly gessoed.


The decor was created as follows:
1 Seahorse: Die cut and sprayed with two colours of Cosmic Shimmer Mist - dried and then inked with Wild Honey and Walnut Stain Distress Inks. Then spritzed with a Distress Marker Spritzer and a Frayed Burlap Distress Marker to create the speckles.
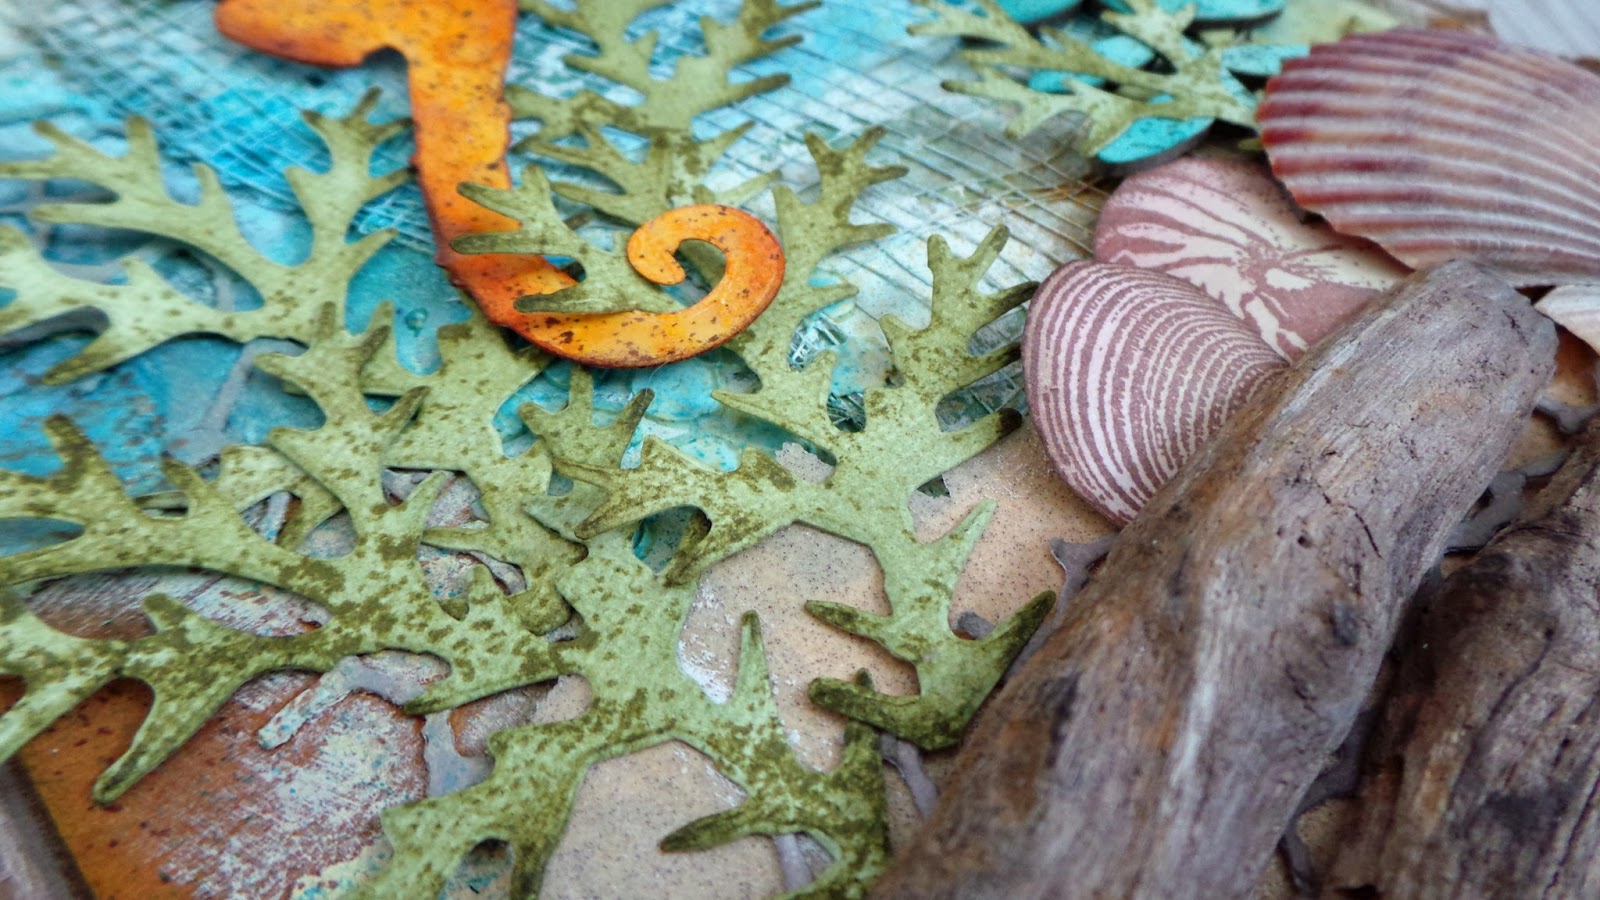
2 Foliage: Cut from the Tattered Pinecone die, inked with Bundled Sage and Peeled Paint Distress Inks and stamped with the same Prima texture stamp for detail. Glued only on the central stem to allow it to to be bent upwards to simulate movement. The chipboard foliage is Tando.
3 Sea Bed: Pieces of torn sandpaper, driftwood, a real shell and stamped shells inked to match the real one.
Many of the elements are glued with Pinflair for dimension.

Took a fair old while to make this but I think it was worth the effort :).

Thanks for popping in!

Katy xxx

Sunday, 21 June 2015

By the Sea for Rubber Dance


My turn for a step-by-step tutorial for Rubber Dance today. A bit of upcycling this time - using my new obsession - DecoArt products. I am officially in love!

Instructions for my make are over on the Rubber Dance blog. I used the yum New Retro Beach stamps in the main - this is one of my fave sets.

I am entering my little creation into a couple of challenges too:

- Frilly and Funkie - It's Summer (nothing says summer to me like the beach!)

- Simon Says Stamp - Don't Cut Just Paste (cos I used crackle paste)

Thanks for visiting today :).

Katy x

I used these awesome RD stamps:
New Retro Beach

For the Birds