Hi all - it's the last day of the Stampendous Pink Your Life blog hop - I hope you've enjoyed it! Today I have a really simple card to share with you using one of the newest releases - Whisper Sunflower.
I simply stamped the Sunny Tile repeatedly in yellow ink then added a strip of twill ribbon. Centred on the card is the Whisper Sunflower image coloured with Graph-It markers, cut out and added with 3D foam. I actually stamped the image on the card blank as well, for placement and so I could add the grey shading before sticking the cut out image in place. A simple greeting finishes the card.
Hope you are enjoying our celebration of Pink Your Life stamps this week at Stampendous. I've used one of the Christmas releases today to create a seasonal tag. I don't like a lot of Christmas stamps but this Santa is just adorable isn't he?
Here's how I created it:
1 Repeatedly stamp the snow background with Versamark onto a kraft tag, emboss with Sparkle Puff embossing powder.
2 Press a Versamark pad through the stencil that comes with the snowflake set. Emboss the area with Sparkle Puff. Stamp, emboss and die cut another snowflake and place it offset over the other snowflake.
3 Tear a scrap of kraft card, dab the top edge with Versamark and emboss with Sparkle Puff. Glue to the tag so that Santa can 'stand' on it.
4 Colour Santa with Graph-It markers and ad him on 3D foam. Use a Stabilo All pencil to add some shadowing around him.
5 Rub the edges of the tag with white paint and finish with a bow.
A spookilicious make for Stampendous today! Using the super cute Who Am I? stamp.
Here's how I made it:
1 Paint a wooden block with black gesso (you may need two
coats). When dry, use a light touch to sponge purple paint over the black,
leaving areas of the black visible. (I used artist grade fluid acrylic paint so
I mixed mine with Tinting Base to make it opaque.)
2 On the top of the block, use a palette knife to apply
black embossing paste through the Stone Background stencil. When dry, dry brush
with grey paint to highlight the texture.
3 Die cut the tree from black card. Cut off the lower
branches and keep one back. Dry brush the tree and branch with grey paint.
4 Hand cut a gravestone in grey card and stamp it all over
in black with the stone effect stamp from the Andy Skinner set.
5 Die cut bats and glue them to pieces of wire. Pierce a
hole in the middle of the block with a pokey tool and fill with glue before
adding the wires into the hole.
6 Add the tree to the reverse of the block. Add a tab to back
of the gravestone so it will stand and glue that in place towards the back of
the block.
7 Glue the offcut from the tree to the front of the block.
Stamp the greeting onto grey card, inking the bottom portion only. Cut out and
distress the edges before adding over the branch on 3D foam.
8 Stamp and colour the ‘Who Am I’ little creature stamp (I
used Inktense pencils). Add a tab to the back of him and adhere at the front of
the block.
Hope you like my 3D creation - thanks for visiting today.
All the stamps and stencils are available from Stampendous.
Katy x
Spooky Graveyard
Products used: Stampendous products:CRQ226 Who Am I Stampendous Cling Stamp
CRV322 Shadows Stampendous Cling Stamp
ASCRS03 Andy Skinner Industrial Cling Stamp Set
DWLG611 Stone Background Dreamweaver Stencil
DWDX7020 Leafless Tree Dreamweaver Die
DEPMB Dreamweaver Matte Black Embossing Paste
MPW811 Mixed Media Paper
Other: Cardstock – black, grey
DecoArt Media Gesso – Black
DecoArt Media Tinting Base
DecoArt Media Fluid Acrylics – Dioxazine Purple, Medium Grey Value 6
Derwent Inktense Pencils
Bats die cutter (mine is Sizzix)
Dark coloured wire
Sponge (a washing up sponge or bath sponge works fine)
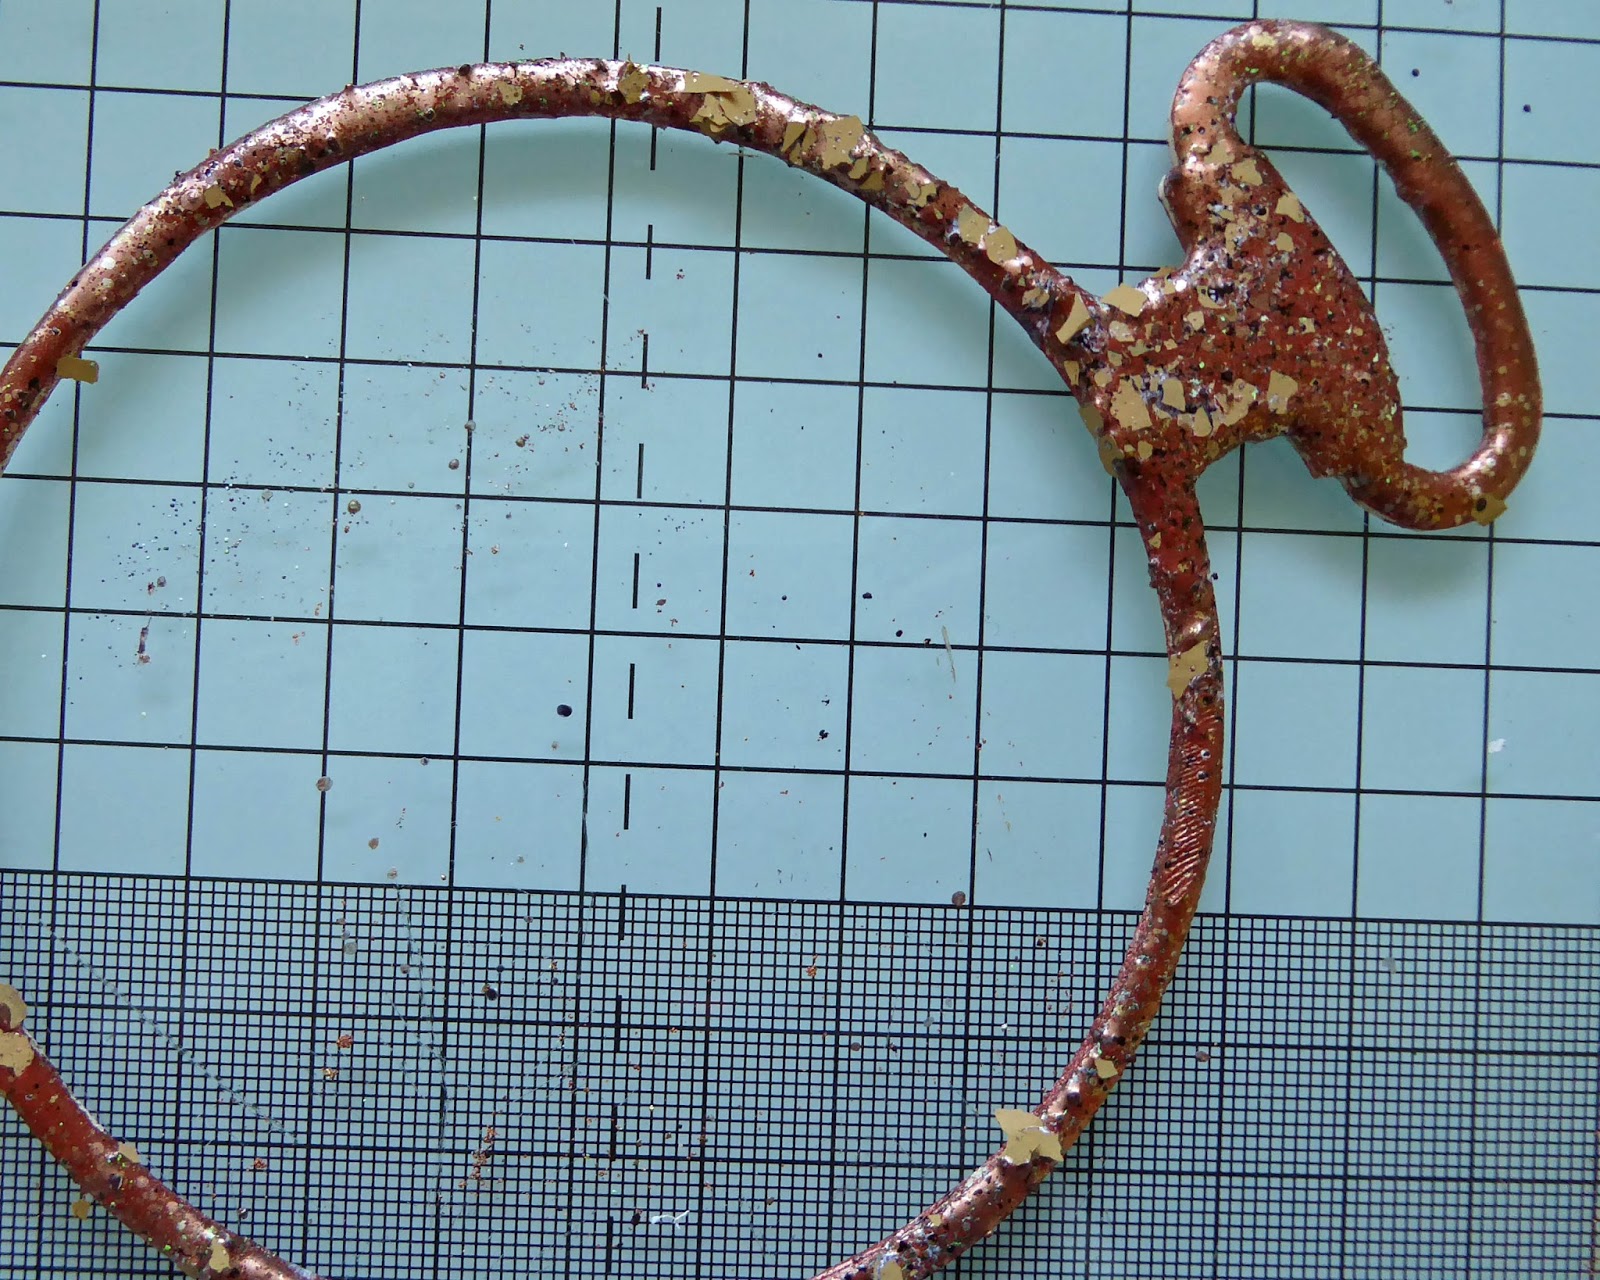
I love Halloween and I am especially fond this chap from Stampendous! The stamp has so many layers that it's great to take apart and layer - I've just used the one stamp for this whole creation. The clock is part of the image.
Here's how I created it:
1 Die cut several pocket watches and cut the centres from all but one. Paint them with bronze coloured paint (you are going to layer them so you can just paint the edges on all but the top and bottom pieces).
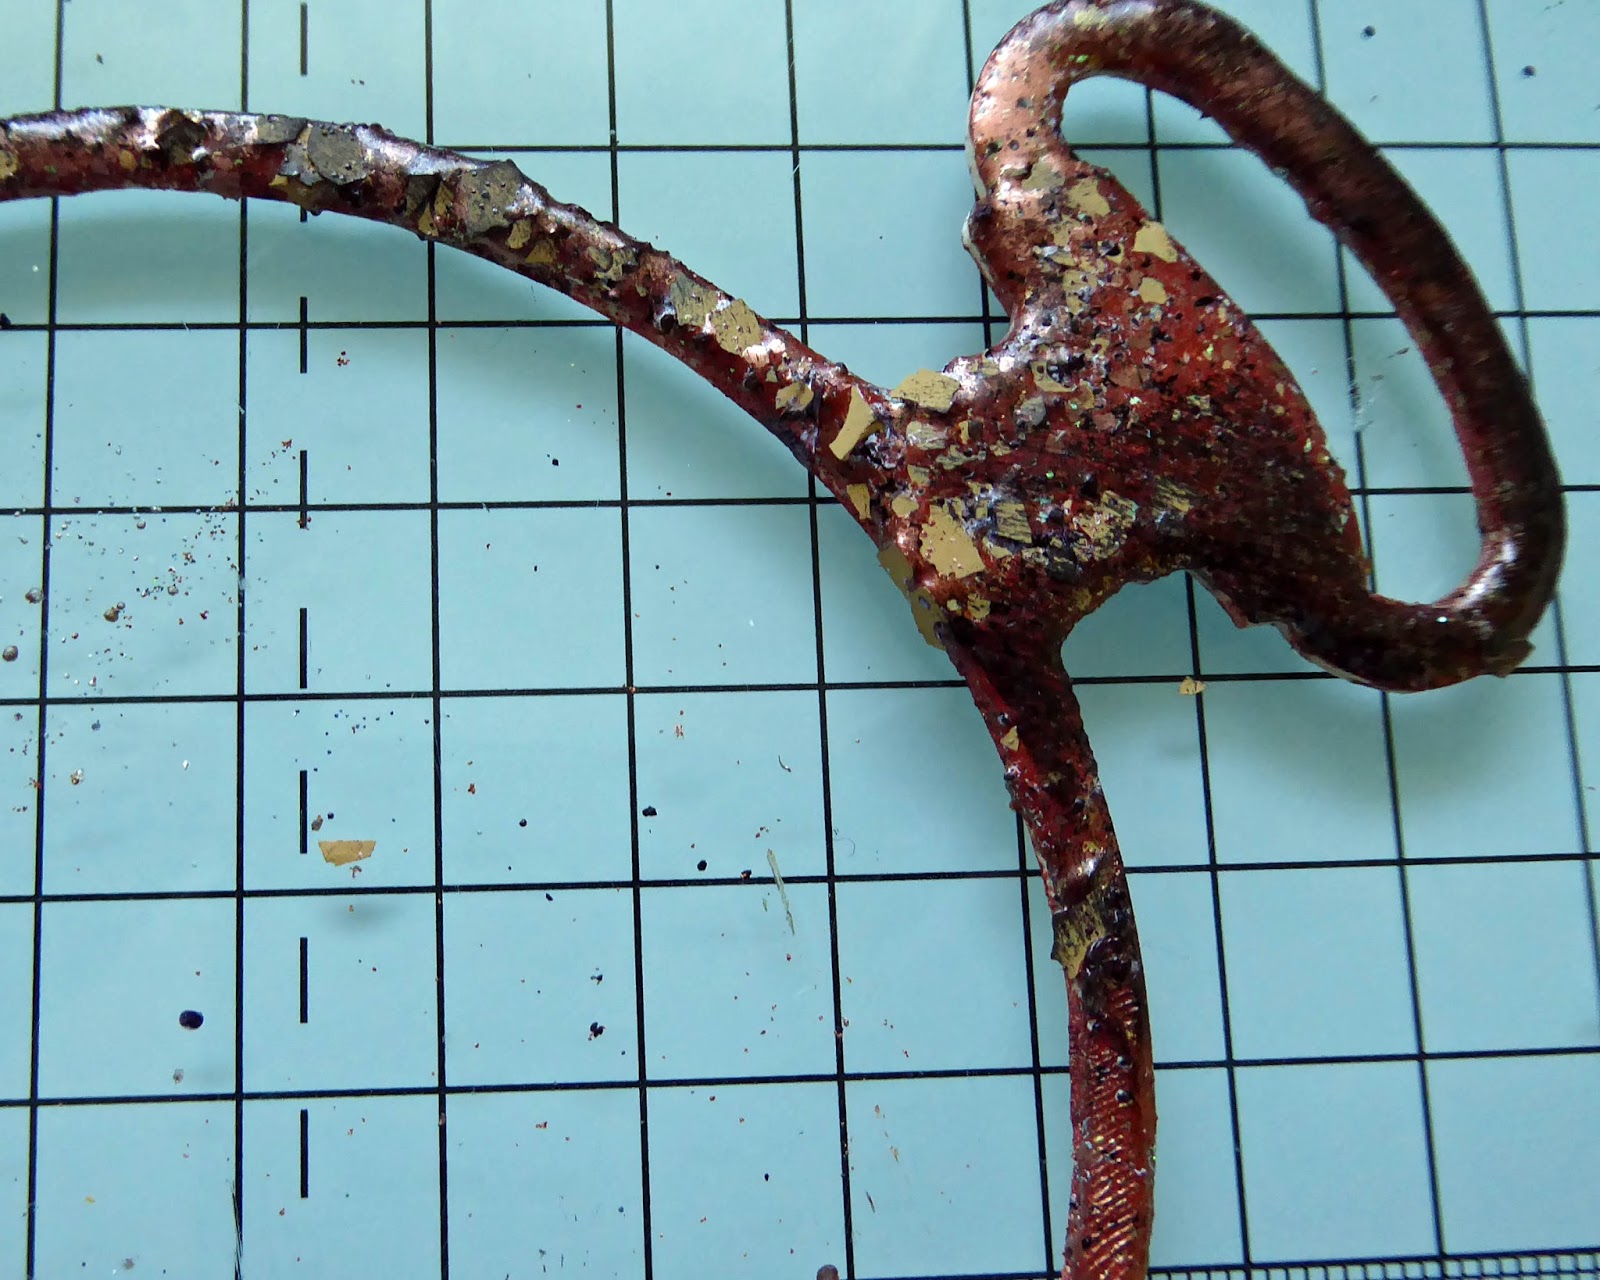
2 Cover the top part of the frame with Versamark. Emboss the frame with Aged Copper embossing enamel. While the powder is still molten add a little Seasonings powder here and there and heat again to melt the seasonings into the powder.
3 Add some Spoonful of Rust here and there and heat to set the elements.
4 Sponge the frame lightly with black StazOn to ‘age’ it.
5 Stamp the pumpkin onto copper and silver metal sheet. Cut the large clock out in a circle the same size as the frame from the copper sheet.
6 Colour the stamped image with pencils. Cut some of the elements of the silver metal sheet and add the details to the stamped image.
7 Add some metal embellishments and stickers saying ‘13’.
8 Glue the copper metal piece to the back piece of the frame. Trim off the excess stamped image so it will fit into the chipboard frame – you want to position him so his hat will protrude beyond the edges of the watch frame. Stick just the very bottom most edge of the stamped image to the background but don’t glue his torso or head yet.
9 Layer up the frame pieces and glue them together with the embossed one on top. Add over the pumpkin collage. Add some 3D foam under the pumpkin’s head to lift it and adhere the feathers on his hat to the outside of the frame.
Other: Sizzix Die – Pocket Watch Frame
Copper paint
StazOn Ink – Jet Black
Copper and silver coloured metal sheet
Derwent Inktense Pencils
Metal embellishments
Number stickers
3D foam tape
All this week the Stampendous DT are sharing a little preview of the new releases coming in the new catalogue. Lots of lovely new stamps and stencils are coming your way!
I'm sharing a quick journal page today created with the Pizzazz Flower stamp.
I used a messy 'wet on wet' watercolour technique to colour the flower stamp - I wet the stamped area with water first then dropped wet watercolour paints into the water with a brush (I used Prima Confections watercolours). The paint spreads, flows and mixes - it's very unpredictable but gives a lovely loose look I think.
I added flicks of watercolour paint all over and a wash of paint over the stamped wording before finishing with a doodled border.
I love the fresh look of this technique and hope you do too!
Katy x
Stampendous products used:
Stampendous Cling Stamp Flower Pizazz CRR286
Stampenous Cling Stamp Follow Your Art CRH289
We have a Halloween theme this week at Stampendous so I am sharing a quick card I made with some of this year's new release stamps. This creepy little fellow (called Who Am I?) is one of faves, he's so funny looking, love him!
I stamped Haunted Mansion and placed a circle mask before sponging the whole background with ink. After removing the mask I added yellow ink to the 'moon'.
The castle and Who Am I were stamped again and coloured with markers before being added with 3D foam.
Finally, I sponged black ink through the Bats stencil and cut out two bats to add in front of the inked moon.
Stampendous products used:
Who Am I? Cling Stamp (CRQ226)
Haunted Mansion Cling Stamp (CRR267)
Dreamweaver Stencil: Bats (DWLL525)
This week at Stampendous we are playing with the Stack stamp sets - these are really cute sets where the heads and bodies mix and match so you can create different characters. The set I used is called Winter Stack and features lots of cute snowmen.
I chose to make an MDF tag to hang from the Christmas tree using Fran-tage to create a lovely textured background.
Here's how:
1) Undercoat the tag with gesso then cover generously with Versamark. Cover with Spoonful of Snow and gently heat set (hold the heat tool at a distance to begin with to prevent the powders blowing away).
2) Add more Versamark and some Chunky White powder to the bottom, while still hot sprinkle in some Ice Blue enamel and heat again. Again while hot, add some flakes of white mica for extra texture.
3) Emboss a snowflake (Tando Creative) with Ice Blue enamel and add a sprinkle of Crystal Mix Glitter while the enamel is still hot.
4) Finally colour the stamped image and use wet glue to add some Crystal Mix Glitter to his hat and the snow at his feet. Use hot glue to secure him to the lumpy bumpy background.
He would look cute on the Christmas tree wouldn't he? And with the mix and match elements of the Winter Stack you could make a whole set with a different snowman on each.
Warm wishes!
Katy x
Stampendous products used:
Winter Stack Clear Stamp Set (SSC1249)
Fran-tage Embossing Enamel - Ice Blue, Chunky White
Fran-tage Spoonful of Snow Fran-tage Mica Fragments - White
Well how lucky am I getting to play with the brand new releases from Paperbabe stamps (click the link to go to the Paperbabe blog for more inspiration)!
As soon as Kim showed me the Day of the Dead inspired face stamps I HAD to say yes to creating a piece for her. I am no artist so rather than try to create realistic hair and skin I decided to go a bit Gothic and make a piece of Halloween art. I've been very much inspired by Kim's work with her substrates and stamps for this piece so I can't really take much credit - but it does show how easy it is to learn from her and create your own artworks even if you can't draw for toffee!
I combined the Mini Female Face set and the new Sugar Skull set to construct the face. I stuck to a white, black and red palette, using shades of grey for the eyes.
Because I love a bit of the macabre I used the blood drips around her neck and painted a 'slash' line with red and grey paints above.
The layered flowers are painted in two tones of red and finished with gems.
I painted the large MDF panel silver then used the new Roses stencil with silver embossing paste (Dreamweaver) over the top. I aged the silver with black Archival Ink applied with a sponge. Scraps of grey netting add to the aged effect.
Her hair is simply painted black then stencilled with cobwebs in silver embossing paste.
Hope you like my spooky portrait. I had a ton of fun making it! Pop over to the Paperbabe blog for more inspiration with the new releases.
Time for another That's Crafty! Challenge and the theme this time is All Square. I've made a quick square card with a square stencil and a twinchie embellishment.
1 On a 4" square card blank, stencil the squares with Mustard Seed Distress Ink. Add splatters of Bora Bora PaperArtsy paint with a splatter brush.
2 Run a painty finger around the edge to make a border. When dry add a doodled black border with pen.
3 Stamp the Dina Wakley stamp (All the Gals set) onto a scrap of monoprinted card. Edge with Bora Bora paint and add some details with white gel pen and a doodled border. Stamp and add the sentiment.
And that's it - quick and simple today. Have fun in the challenge and good luck!
We are using our crackle for the latest That's Crafty challenge and I’ve created a distressed tag
using the fantastic crackle paint from DecoArt. This is a great crackle
product, it’s really sturdy and cracks really well. The secret is to get a nice
even coverage that isn’t too thin and to use a darker colour on your base layer
which will show through the cracks.
This video shows you how to do create the distressed crackle
background used on my tag – hope you enjoy it!
To finish I just added a circular wash of yellow paints, some stamped images, some background stamping and a computer-generated piece of text.
Look how fab that crackle is!!!
Materials used:
DecoArt Media Crackle Paint, Black Gesoo
DecoArt Media Fluid Acrylics: Burnt Sienna, Raw Umber,
Yellow Iron Oxide, Primary Yellow
PaperArtsy Hot Picks stamps
Stampendous Andy Skinner stamps: Industrial
Archival Ink: Coffee, Jet Black
Embellishments: keychain, light bulb, mini brads, photo turn
Scrap of chipboard
Palette knife
Hope you like this piece, was a ton of fun to make,
Today I've created a journal page that's a homage to our wonderful Creative Team leader, Susan K. Weckesser herself. Susan is quite the most positive, upbeat and optimistic person I think I have ever met. So my words on this page remind me that she always sees the good in every single day including the bad, hard ones; even on the darkest days, the sun still rises. Thank you Susan for being an inspiration.
Liking this That's Crafty challenge muchly as I do like my crackle! I've used a couple of crackle mediums on this little ATC plus an Andy Skinner crackly stamp, for good measure! I used a chipboard ATC as it can take all the wet mediums without complaining!
Sorry I didn't get step pics (too dark at 3am!!!) but here's how I created it.
1) Prime the ATC with gesso then paint in Cobalt Teal Hue - this is the colour that will show through the cracks.
2) For the crackle on the background I used Andy Skinner's Mega Crackle technique for which you can find a video here. Apply Weathered Wood and let dry completely, Mix Crackle Paint with a small amount of Metallic Gold paint and paint over the dry Weathered Wood, leave to crack.
3) Add some stencilling using Cobalt Teal Hue mixed with Tinting Base to make it more opaque. Add stamping in Coffee and black inks.
4) Paint a piece of card with Crackle Paint and when dry paint in Pyrrole Red. Stamp with the heart (Darcy). Add a wash of Metallic Gold over the top and cut out.
5) Add the heart and embellishments to the ATC.
If you haven't used them I'd really encourage you to play and experiment with them, as they are great fun to use and you can create quite a variety of effects.
PS: If you've enjoyed this you might like this video which also uses DecoArt crackle products :). And hearts for that matter!
Katy x
Products used - available from That's Crafty:
That's Crafty chipboard ATC
DecoArt Media: Crackle Paint, Gesso White, Tinting Base
DecoArt Weathered Wood
DecoArt Media Fluid Acrylics: Cobalt Teal Hue, Metallic Gold, Raw Umber, Pyrrole Red
Archival Inks: Jet Black, Coffee
PaperArtsy Eclectica Darcy stamps: EDY01
Stampendous Andy Skinner stamps: Industrial, Shabby Chic, Steampunk
Thank you everyone for playing - my winner is: JPScraps! Well done! Please email Susan on: hello@susankweckesser.com and she will ship your inkpads to you.
Hope you have fun with them, they are lovely rich zingy inks.
I use paint on my art journal pages all time, and I thought why not use the same techniques to create a card? I think the painted panel makes a fun and dynamic background for the focal fox image.
Here's how I made it:
1 Create a painted background by swiping paint across a piece of card with a baby wipe. Add some white areas with a credit card.
2 Stencil the loops with Susan's Doodle stencil, followed by the X design in red. When dry stencil the numbers in modelling paste.
3 Add blobs of grey paint with the rubber end of a pencil and doodle over them when dry. Stamp the Going Wild wording over the background repeatedly as shown, using just the arrow part around the edges.
4 Colour the fox with pens (I used Graph It markers) and add him on 3D foam pads.
5 Mat the panel to grey card. Stencil a border with grey ink onto a card blank and glue the panel in place above.
Thanks for stopping by today - see you soon I hope.
Well I am feeling proud today as I was asked to create a guest post for PaperArtsy for their Pattern theme. I decided to create my pattern by using just parts of stamps to create borders and backgrounds. Using parts of stamps is a great way to get a lot more mileage from
them. Stamping tone-on-tone
can create depth to your background, and because the image recedes it doesn’t
really matter what stamp you use. Here I used a clock stamp for this technique
– it doesn’t really go with my ‘botanical garden’ theme but in the final piece
the eye doesn’t register the clock image, just the texture it creates.
Products used: PaperArtsy Hot Picks: HP1005, HP1109, HP1509
Fresco Finish paints: Vanilla, Pumpkin Soup, Yellow Submarine, Bora Bora, Hey
Pesto
Archival Inks: Jet Black, Tree Branch, Pale Ochre
Coloured pencils
Black and white pens
Step One: For my background I used Fresco Finish Vanilla,
Pumpkin Soup and Yellow Submarine paints, mixing them lightly while still wet.
Step Two: I stamped the clock (HP1509) all over with Pale
Ochre Archival to give subtle texture in the background then add some stamped
pot lids (HP1109) in Archival Tree Branch. This texture will recede into the
background so it’s about looking at the shapes of the stamps rather than the
images as such.
Step Three: Using just parts of images is a great way to
add pattern or borders. Here I used the edge of the key stamp (HP1509) to make
an ornate repeating border along the top and bottom edges.
Step Four: In a similar way I used the top edge of the door
image (HP1509) to create a grungy border to frame my design.
Step Five: I stamped the flower (HP1109) at various angles
to finish my layered background.
Step 6: I used coloured pencil to shade the flowers and
leaves then added detail with black fineline and white gel pens.
Step 7: I again used the door stamp (HP1509) in an abstract
way to add pattern to a die cut butterfly. The symmetry of the door stamp works
perfectly on a similarly symmetrical image like a butterfly. I painted the die
cut with Fresco Finish paints before stamping it with black Archival.
To finish the piece:
Stamp moths onto card, colour with Fresco Finish Bora Bora and Pumpkin Soup and
cut out. Stamp again onto the background and position the cut out moths on top.
Stamp the pot lid (HP1109) in Tree Branch onto book paper painted with Vanilla
Fresco Finish. Mat onto card to give it some depth then glue to the background.
Add the butterfly on top and embellish it with a pen nib. Stamp ‘take flight’ (HP1005)
onto a scrap of painted card and add behind a bookplate.
I hope this project has encouraged you to look again at the stamps you
have and consider how you might use them in different ways.